
This lesson is made with PSPX9
But is good with other versions.
© by SvC-Design
Materialen Download :
Here
******************************************************************
Materials:
BrushTip_MS_Splash.PspScript
BrushTip_MS_Sprinkle.PspScript
MarnySensation Sprinkle and Shake.f1s
MS_Splash.PspBrush
MS_Sprinkle.PspBrush
rt.jgd
Sprinkle&Splash_Background.jpg
Sprinkle&Splash_basis.pspimage
Sprinkle&Splash_masker1.jpg
Sprinkle&Splash_masker2.jpg
Sprinkle&Splash_Tube.png
******************************************************************
Plugin:
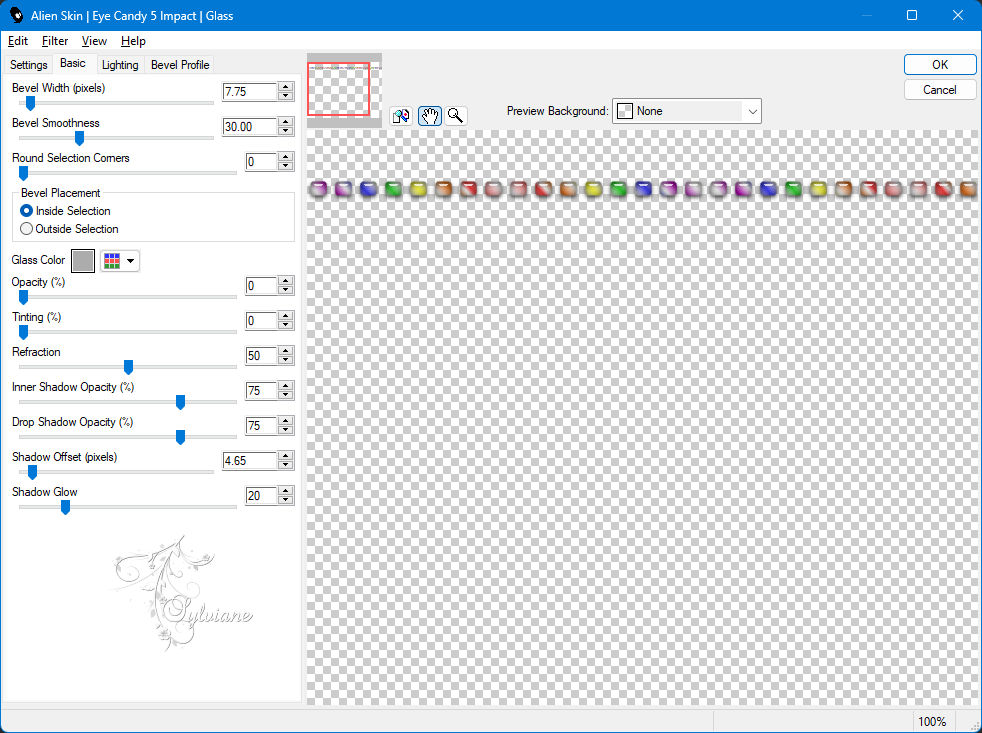
Effects - Plugins - Alien Skin - Eye Candy 5 Impact - Glass
******************************************************************
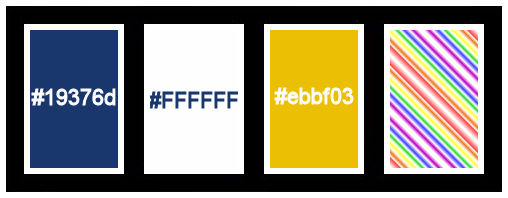
color palette
:
******************************************************************
methode
When using other tubes and colors, the mixing mode and / or layer coverage may differ
******************************************************************
General Preparations:
First install your filters for your PSP!
Masks: Save to your mask folder in PSP, unless noted otherwise
Texture & Pattern: Save to your Texture Folder in PSP
Selections: Save to your folder Selections in PSP
Open your tubes in PSP
******************************************************************
We will start - Have fun!
Remember to save your work on a regular basis
******************************************************************
Choose 2 colors to match your chosen picture: 1 color dark enough so you can see the white masks, and 1 color that stands out nice and bright
Foreground color: #19376d
Background color:#ffffff
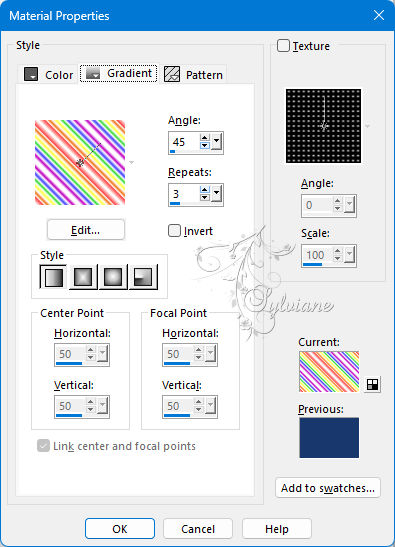
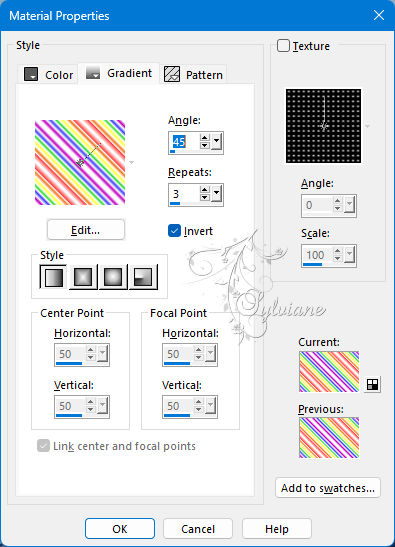
Set your gradient to the following values
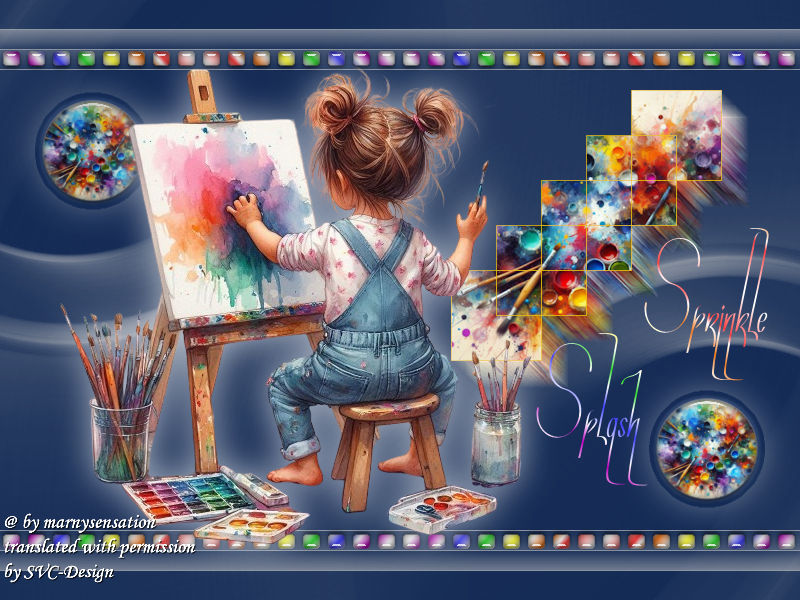
If you want to use your own background picture and tube, look for one that has a lot of colors and is cheerful
1.
Open Sprinkle&Splash_basis.pspimage
Venster – dupliceren
Minimaliseer het origineel – we werken op de kopie
Fill it with your dark color
2.
Layers - New Raster Layer
Fill with white
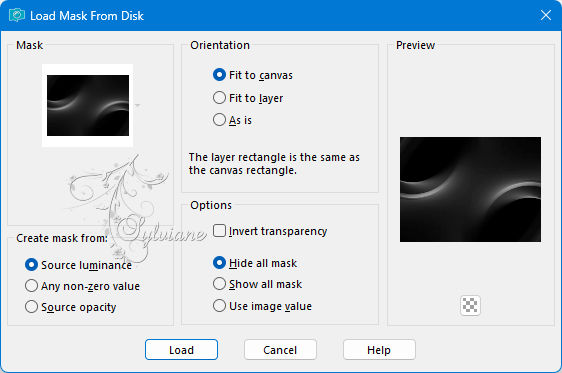
Layers – Load/save mask – Load mask from disk - Sprinkle&Splash_masker1.jpg
Layers - Merge - Merge Group
3.
Layers - New Raster Layer
Fill with White
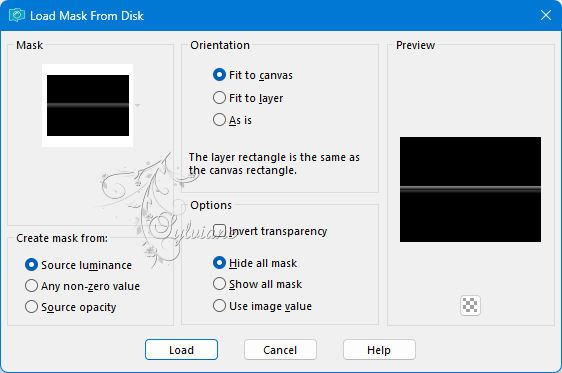
Layers – Load/save mask – Load mask from disk - Sprinkle&Splash_masker2.jpg
Layers - Merge - Merge Group
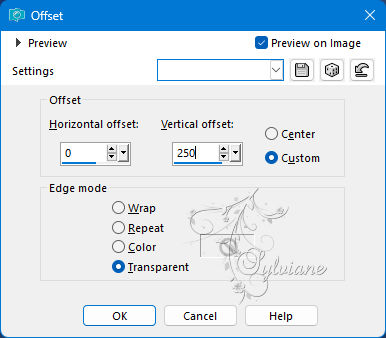
Effects - Image Effects – Offset
4.
Layers - Duplicate
Image - Mirror - Vertical Mirror
5.
Layers - New Raster Layer
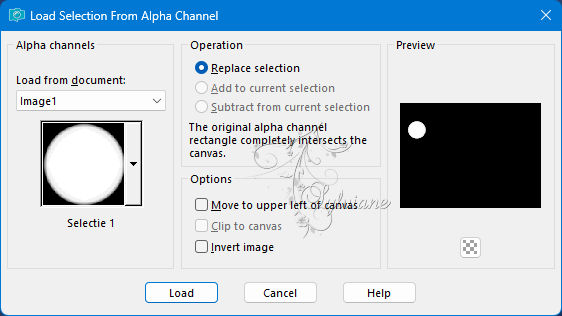
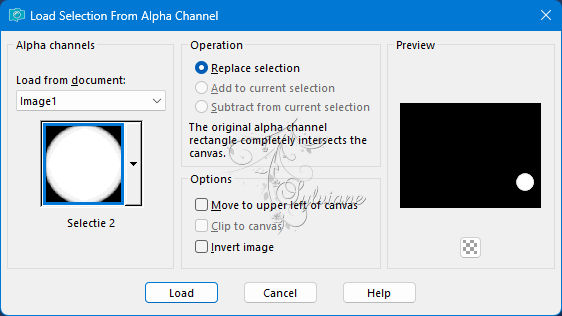
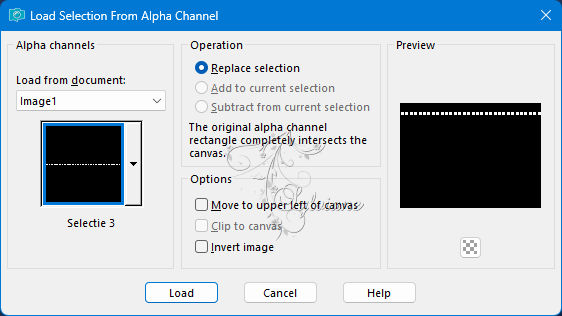
Selections - Load / Save - Load selection from Alpha Channel - Selection 1
fill with White
Selection - Select None
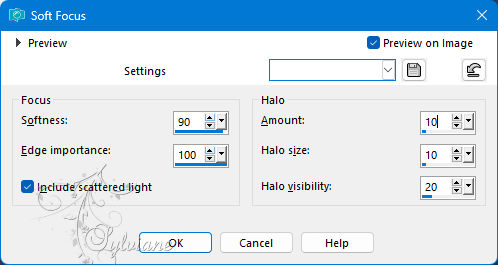
Adjust – softness – soft focus
6.
Layers - New Raster Layer
Selections - Load / Save - Load selection from Alpha Channel - Selection 1
Open Sprinkle&Splash_Background.jpg
Edit – Copy
Edit - Paste into selection
Selection - Select None
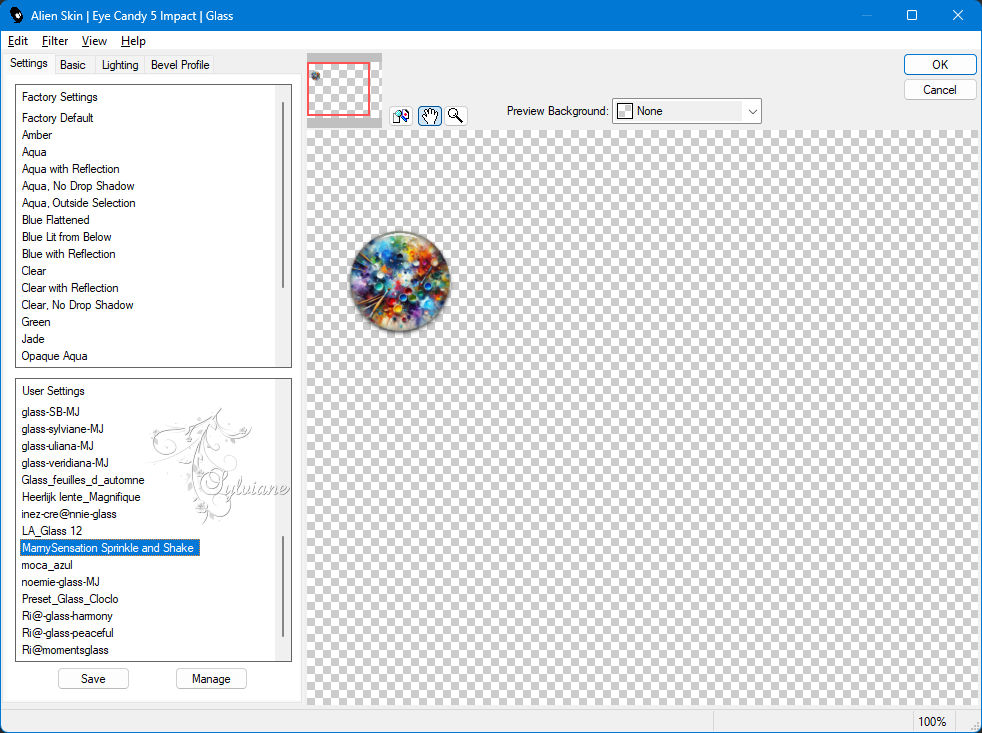
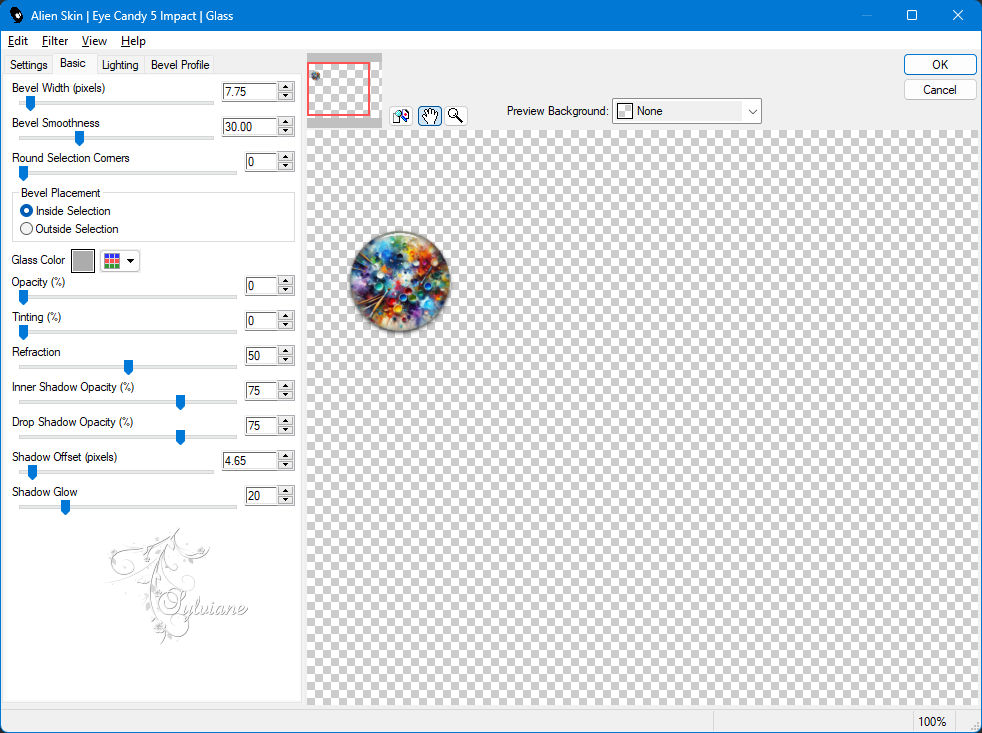
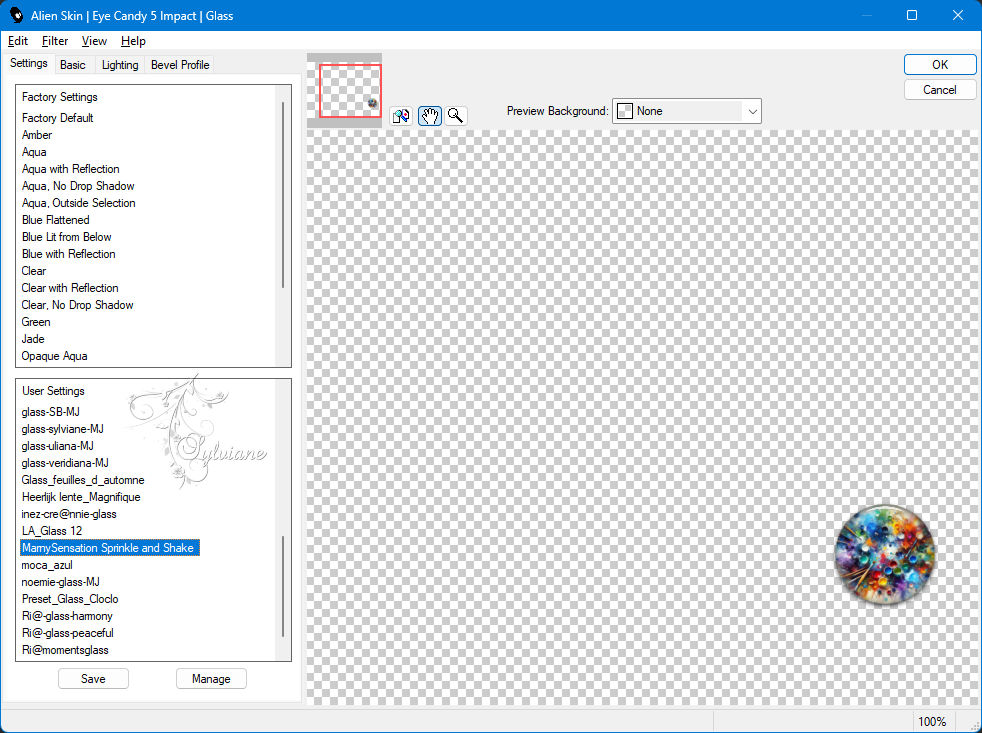
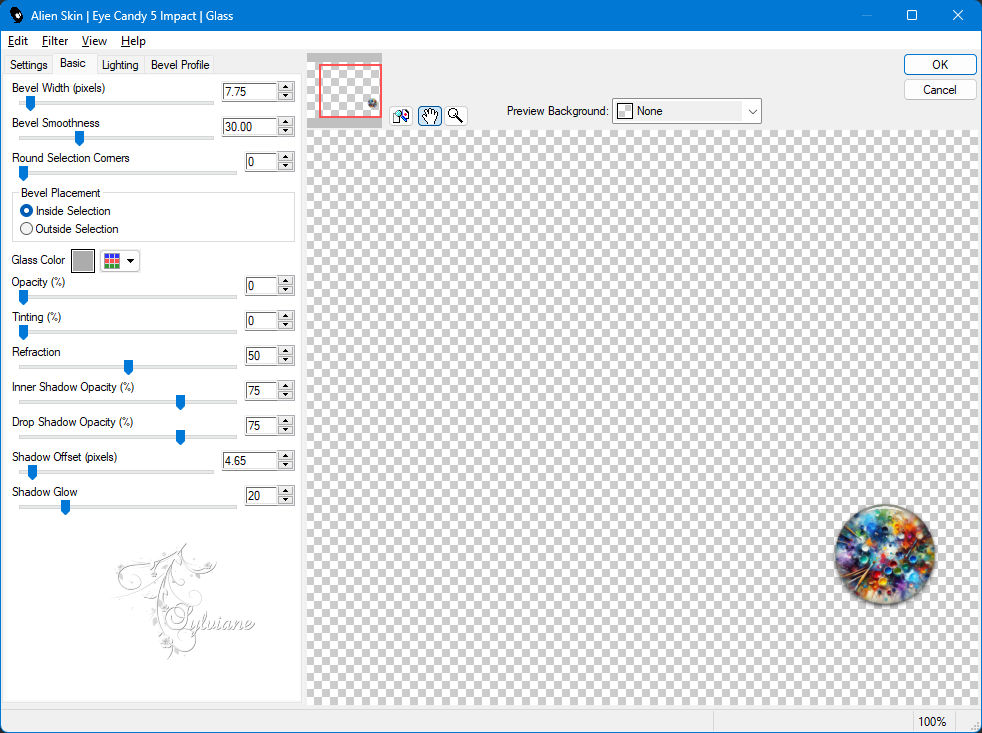
Effects - Plugins - Alien Skin - Eye Candy 5 Impact - Glass - kies MarnySensation_Sprinkle and Shake
7.
Layers - New Raster Layer
Selections - Load / Save - Load selection from Alpha Channel - Selection 2
fill with White
Selection - Select None
Adjust – softness – soft focus
8.
Layers - New Raster Layer
Selections - Load / Save - Load selection from Alpha Channel - Selection 2
Open Sprinkle&Splash_Background.jpg
Edit – Copy
Edit - Paste into selection
Selection - Select None
Effects - Plugins - Alien Skin, Eye Candy 5 Impact, Glass, kies MarnySensation_Sprinkle and Shake
9.
Layers - New Raster Layer
Selections - Load / Save - Load selection from Alpha Channel - Selection 3
fill with Verloop art
Selection - Select None
Effects - Plugins - Alien Skin, Eye Candy 5 Impact, Glass, kies MarnySensation_Sprinkle and Shake

10.
Layers - Duplicate
Image - Mirror - Vertical Mirror
11.
Layers - New Raster Layer
Selections - Load / Save - Load selection from Alpha Channel - Selection 4
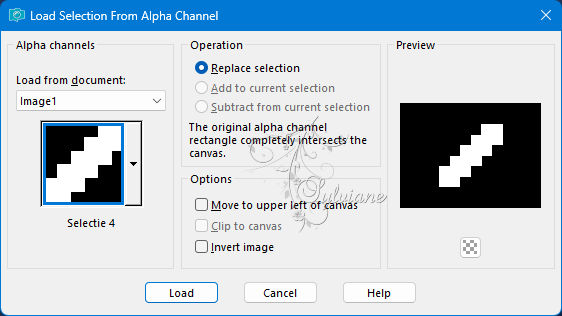
Open Sprinkle&Splash_Background.jpg
Edit – Copy
Edit - Paste into selection
Selection - Select None
12.
Layers - New Raster Layer
Layers – arrange – move down
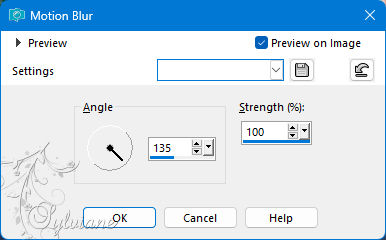
Adjust – blur – motion blur
Effects - Edge Effects - Enhance More
13.
Activate the top layer
Layers - New Raster Layer
Selections - Load / Save - Load selection from Alpha Channel - Selection 5
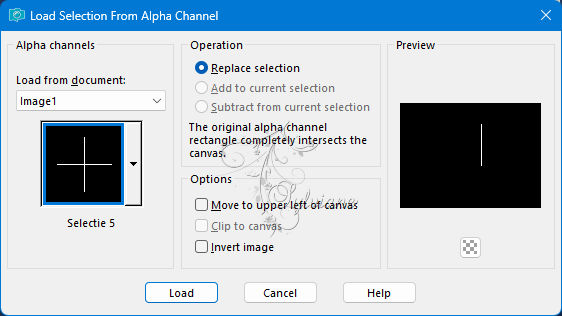
Now zoom in far so you can fill the border with your 3nd color
Selection - Select None
Layers – merge – merge down
Edit – repeat layer merge down
Image - Resize - 75%.
No check mark on resize all layers
place as in the example
14.
Open Sprinkle&Splash_Tube.png
Edit – Copy
Edit - Paste as new layer
Place the left side of your creation.
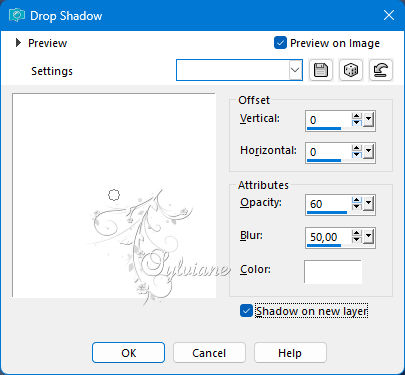
Effects - 3 D effects - Drop shadow
15.
Layers - New Raster Layer
Go to Brush and find the brush MS_Sprinkle.PspBrush.
Set your foreground color to Gradient rt.jgd and place your brush.

16.
Layers - New Raster Layer
Go to Brush and find the brush MS_Splash.PspBrush.
Set your foreground color to Gradient rt.jgd and place your brush.

17.
Now move your tube, the squares and the brushes until you are satisfied with your work
18.
put your watermark on it
Layer – merge – merge all (flatten)
Save as JPEG
Back
Copyright Translation 2024 by SvC-Design
------------------------------------------------------------------------------
Thanks to all who created